Category: Boat Projects

Home / Category: Boat Projects

We have been here a little over 3 months now here is what we are up to these days:

WORKING to make a living again….

Ben is working nights at Q on Bay, a local BBQ restaurant. I am working days as a Math Interventionist at the local Charter Montessori school, Lowcountry Montessori. I work M-F 11am-3pm, and have every other Friday off. Ben works a varying schedule. Generally I get home from work, see him for 20 minutes, and then he goes off to work.

ADVENTURING – settled in style

Ben has been taking the kids out for more adventuring while I’m at work. They have developed a few ‘favorite’ places to visit and continue to return to those over and over again. On weekends I get to tag along too!
These include:
~The Library
~Hunting Island State Park
~Pigeon Point Park
~The Pool

We also visited Savannah, GA for a day and then Ben and the kids went back to tour a US Coast Guard Ship while I was at work. We stopped at a nature preserve on the way home.

The kids and I visited the Kazoo Factory on Monday, which I had off, and Ben was roped into working a double for the day. It is the only plastic Kazoo manufacturer in the USA. We got to learn about the history of the Kazoo, attachments you can use, how they are made, and how they work. We also heard samples of a variety of different Kazoo-like instruments and whistles played. We even got to add the resonated and cap to our own Kazoo to take home with us.

It was a loud day, but we all had a blast!

Homeschool – still relaxed and going with the flow

We have joined a brand new local Homeschool Group as well, and spend a few hours every Friday with them. So far we have:
~Learned to make, bake and decorate sugar cookies
~Learned to make pasta and sauce from scratch
~Had a playground fun day
~Visited and toured the newest library in town

Its great to have a group of kids for both Tristan and Trixie to play with each week, as there are kids both of their ages who are part of the group. Before this group started the closest Homeschool Group was 45 minutes away!

For schooling Tristan has been working on a variety of projects.
~An evolution/species project on Pygmey Seahorses
~Redesigning the storage in his room to give him more space in his closet and a place to put books
~A Viscosity Science Fair Project (to present to the homeschool group next week!)
~Learning to draw better through a variety of sources
~He will soon be starting to learn to play the Recorder that we just bought him!

We have also been plugging away at
BOAT PROJECTS!

Varnish

We have made strides with the varnishing, on the days that its warm enough to do so, and have the Starboard side Toe-Rail and Rub-Rails DONE!
The Port side needs to be scrapped, sanded and done still. Then we have all the other little parts of the boat that need touching up, around the hatches, around the cockpit, the bow-sprit…….Varnish Forever!

While it is a LOT of work, the reward is pretty amazing, because it just looks SO good when it is done!
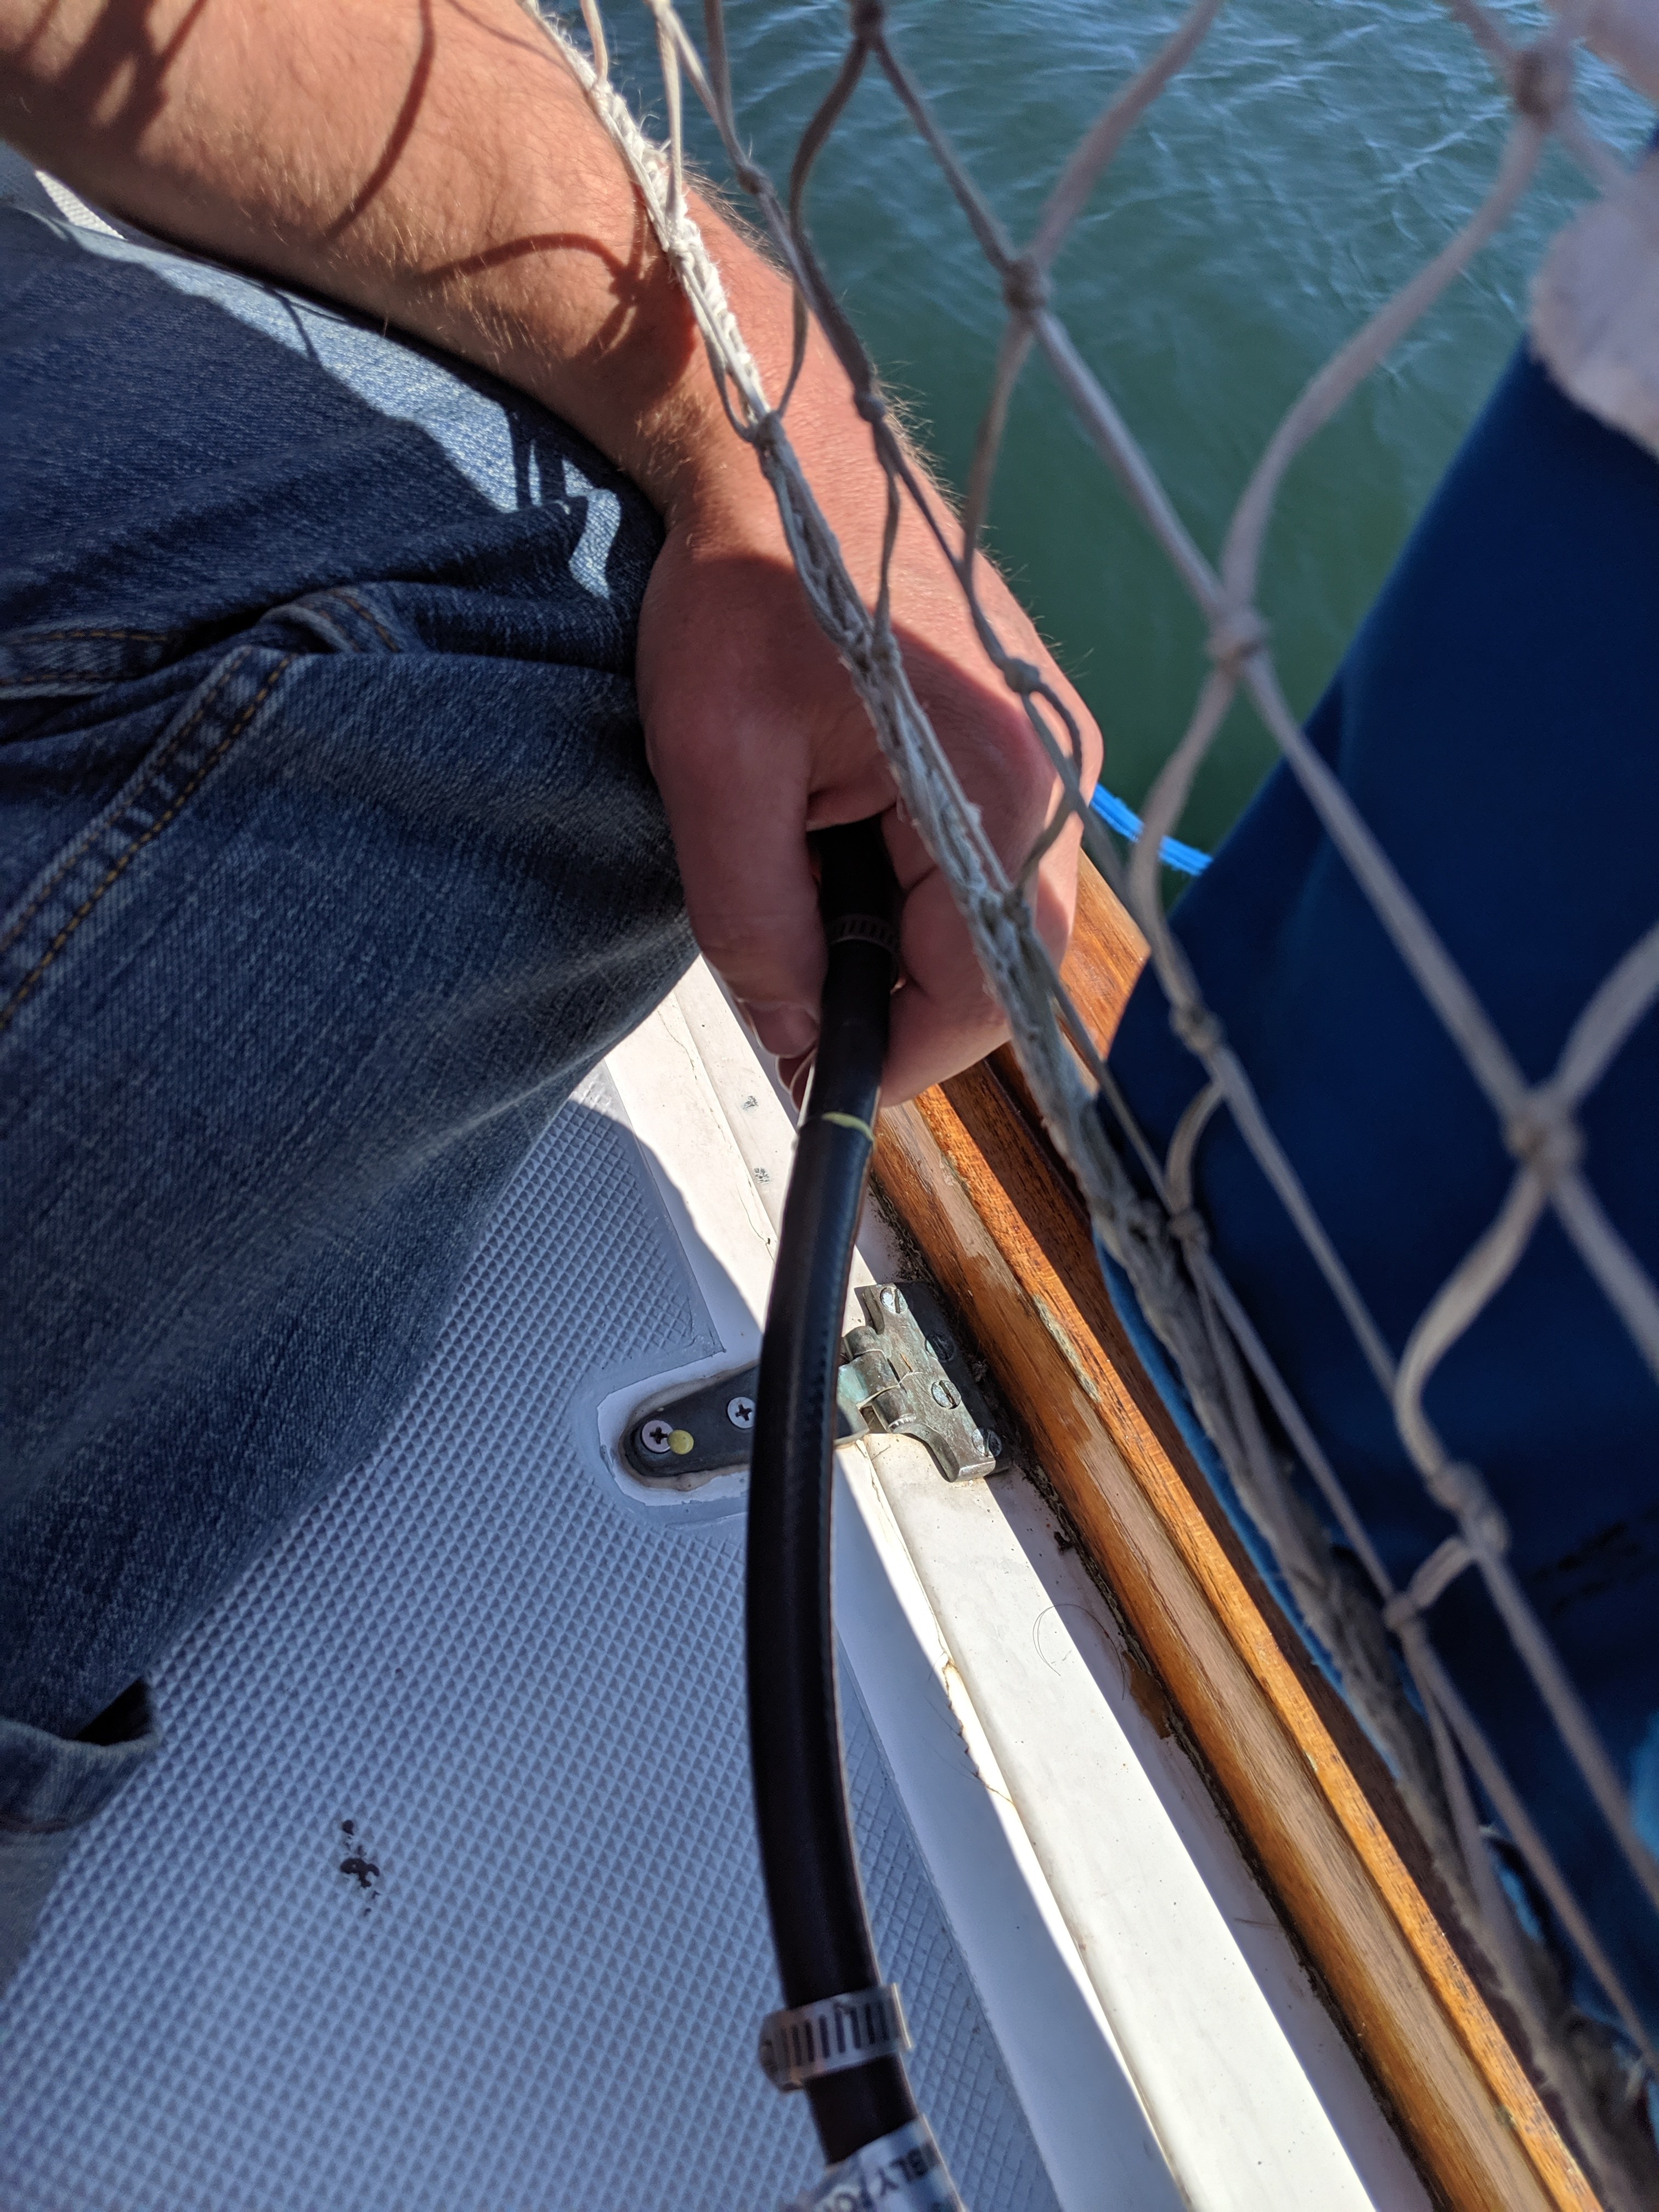
Electrical Work

We replaced our shore power inlet. The story goes: We lost power, had no shore power for 3 days before we could make it to buy a new cord, figuring our cord was shot – as it felt hot in a few places. We bought a new cord – only to find out that while our boat takes 30AMP, and we always plug into the 30amp outlet on the dock, the inlet on our boat was a 50amp. Which means our old cord had a 30amp female end for the dock side, and a 50amp male end for the boat side.

Cords don’t come from the store like that. They are either 30amp or 50 amp, not both.

After weighing all our options – we came to the conclusion that replacing the inlet on our boat was the ‘right’ way to go. then we could have a 30amp cord, and if it ever needs to be replaced again, we can simply buy a new one.

Of course, as boat projects go, it wasn’t just as simple as taking out the 50amp inlet and putting in the new 30amp one we bought. The 50amp inlet had 6 gauge wire running to it, but the new 30amp one was only able to take 10 or 12. So after multiple trips to West Marine, many more $$ spent, and a full day of work, we replaced and re-wired the inlet. We now have a ‘fancy’ ELL 30amp cord, which is the newer, safer design of cord.

We added fans and new lights to both of the kids rooms. They lights have a nightlight feature, and a USB outlet to plug things into as needed. This was the first electrical work we did where we had to connect wires with shrink tubing – which meant we needed to purchase a heat gun (the hair-dryer was NOT cutting it).

Hatches

We re-bedded the forward and aft hatches. Two down, two to go.

Again, as boat projects go these involved more than we expected. We decided to replace all the hardware – as the bolts were all flat head – and a royal pain to get out. Granted once we learned they were bolts with nuts on the other end they were a lot easier to get out – but flat-heads are still a pain.

Getting the bolts our required removing the ceiling and trim around the hatches, then removing the plywood that the trim is screwed into. Then you can (mostly) access the nuts to remove them from the bolts.

Once the hatch is out, all the old sealant has to be painstakingly removed from the hatch and the opening. Silicon is NOT easy to remove from aluminum.

Then you can lay the butyl tape (a type of calking that comes in ‘tape’ form and you can just lay it down, no gooey mess to deal with!) down on the opening and bolt the hatch back on. The tape squeezes out the sides as you tighten the hatch down, spreading over the whole surface.

The main issue we ran into was replacing the old bolts. No one sells 20 x 1/4 x 3.5″ stainless steel countersunk philips head, flat bolts around here. Sure we could have bought some online, but we were impatient (and watching the forecast for rain as we had gaping holes in our boat).

We did make it successfully through a rainstorm with one hatch re-laid on the opening and a tarp over-top, and a VERY cold night where the aft hatch couldn’t be replaced due to a coat of varnish that needed to dry. I closed the door to our cabin and slept in the salon that night.

So instead we bought bolts longer than we needed and painstakingly cut them to be the right length (after they were installed.) We cut the first few with the hack-saw and dremel (although the hack-saw was way more effective) before we realized we had a grinder that would make the job exponentially easier.

Unfortunately the forward hatch still leaks when it rains – but its leaking around the lens (which you may remember we re-did in August, we didn’t do the best job….). So we need to replace the lens – again.

Downsizing…..still

Yes – even though we live on a 42′ boat, we STILL have TOO MUCH STUFF!

We continue to make piles of things we don’t need and eventually truck them off to the dump/thrift store/recycling station. We periodically go through the stores of stuff we haven’t touched since moving aboad, and re-evaluate if we need to keep said things or not.

Many thing we do decide to keep, despite not having used them, as they are things we know we may need some-day. This includes the copious amounts of tools and spare parts we have, along with bags, manuals, sewing supplies and more.

We have cleared out our forward head, so you can actually SEE the toilet (that we don’t use and plan to remove some day.) I am a person who likes the calmness of seeing order and cleanliness, so I’m constantly initiating downsizing and cleaning aboard.

Coming up……

Bug-Magedden II – the interior version……

Tristan starts little league baseball in another week – and he is super excited. He had tryouts last weekend and will find out his team next week. Then they will have 5 weeks of 2 practices a week, and then 6 weeks of games only. We got him new cleats for baseball – and they are purple, and AWESOME!

Tristan is also turning 9 in 2 weeks! He has requested that we go sailing or disc golfing for his birthday.

We haven’t been golfing since we got down here, so we are all itching to go throw. We also haven’t been sailing since we got here – as the logistics of it are much more complicated down here. We can only leave/return to the marina at high tide, preferable slack high tide – which isn’t conducive to a ‘day-sail’. Also, there isn’t any place to ‘sail’ until you motor for 2+ hours to get out of the river. We all can’t wait to get out on the water again. We are dreaming of summer days in Maine and the wonderful cruising grounds that are everywhere in our home state.

…and more family fun!

Drippy, our drip-less shaft seal

November 3, 2019 | Boat Projects | No Comments

We have had problems with our dripless shaft seal since night one of owning Jelanea. You may remember that on our first night in Portland, ME, our stuffing box was dripping into the bilge. What a way to start boat ownership, with sea water making itself at home in your boat.

We were able to stop that drip fairly easily, by turning on the engine and putting the boat in gear we freed whatever was causing the drip.

Dripless stuffing boxes work by pushing a carbon stator against a stainless steel rotor the carbon plate is held in place by a rubber bellows that is compresed to create pressure.

Foreign material can get into the seal between the carbon and the rotor and create a leak. This is typically solved by either running the engine in gear, or flushing the system by hand compressing the bellows.

When ours started to leak while underway on Tuesday, we figured this was the issue and tried to flush the debris out. When it was fine for the next few days we figured we had fixed it.

But on Saturday we couldn’t get the water to stop flowing in, no matter what we did. After contacting our friends in Brio II and the manufacturer of our shaft seal, we decided that the bellows needed to be compressed more. They must have relaxed with age or been worked a bit loose over use.

In order to fix this we needed new set screws, that hold the rotor in place. As we were nowhere near civilization all day Saturday, we simply kept moving knowing the bilge was filling with water. Our bilge pump did a great job of keeping up and keeping our boat afloat.

We decided to stop in Belhaven, NC, mostly because there was a nearby hardware store.

Of course, since we arrived on Saturday evening, the hardware store wouldn’t reopen until Sunday at 1pm. As most other things in this small town were closed all day Sunday, we were glad the Hardware store was open at all.

I had gotten the correct screw dimensions from corresponding with PSS shaft seal, who manufactured our stuffing box.

Once we acquired the correct parts, we set to work fixing the problem.

Each rotor is typically set with 2 screws, and then an additional 2 screws are sink into the same holes to keep the bottom screws from working their way out.

I had thought we only had 1 set of screws I each hole and removed them with an Allen wrench. We had marked the prop shaft with a sharpie to know where the rotor started. Our goal was to push it aft 1/4 to 1/2 inch to compress the bellows and stop the constant influx of water.

After removing the 2 set screws both of us tried to push the rotor aft to no avail. There isn’t a lot of space to get at the prop shaft, but we pushed with everything we had. Our hands, our feet, nothing would make it move.

Finally I decided to double check that there weren’t a second set of screws still holding it on. Sure enough there were. I removed those ones and tried pushing again.

Still no movement.

I checked that there wasn’t a third set screw (there wasn’t). Not sure what else to do, Ben got a mallet and a spare board. He squeezed himself under the hot water heater and somehow found enough clearance to swing the mallet into the board which was laid against the rotor. A few good swings and it finally moved a little over 1/4 of an inch.

The dripping instantly stopped. We could see another sharpie line on the prop shaft, most likely indicating where the rotor should have been set.

Another problem solved!

The last few days have been a whirlwind of projects, errands and friends and family.

We did our big provision run. First we made a list of meals we planned to make. Second we made a list of all the ingredients we would need to make all those meals. Then we made a list of things we already had in the boat. Then we crossed the list of things we needed for the meals with the list of things we had, and we came up with a big shopping list.

Tristan came to the store with me, and its a good thing he did. The cart was chock full with one section left to conquer. We grabbed a basket and filled that to the brim as well.

We also got a lot of projects done. I finally fixed the hole in our bimini, where there was a view hole to see the mainsail from the helm, but the plastic had broken out months ago. I created a removable view hole, as we have found that we enjoy being able to stick our heads through the hole from time to time.

We got the Yankee headsail up again, which involved another trip up the mast. We had to bridge the distance between where the Yankee reaches up the fore-stay and where the top of the furler should sit (so it doesn’t wrap around the stay and chafe through again.) The distance was almost 4ft! We then purchased some Dynema line, and spliced one end to attache to to the furler, and spliced the other end onto the top of the Yankee sail. This way we will never have to go looking for the piece of line if we ever take the sail down again. It is attached until we cut it off. Dynema is so much easier to splice than the double-braided halyard I spliced last time! Dynema is a single braid line, but is built with over 9000lbs of tensile strength!

Then came the project we didn’t except. The leak in our propane line. We almost had to delay our departure because of this. We couldn’t leave without a means to cook all the food we had just bought. We needed to fix the propane line. The old line had been spliced together. Our tanks sit on our back deck because they are too big to fit into the ‘propane’ locker. The boat came with two 10lb tanks, that do fit in the locker. The previous owners had kept the original tanks, but also added two 20lb tanks on the back deck. Since these tanks don’t fit in the locker, they then had to run the propane line through the deck, into the locker, to the regulator and solenoid. This meant splicing the line together, as neither of the fittings on the end of the lines would fit through the hole.

Turns out the line was 1/4″ spliced to 3/8″ spliced to 1/4″. Right at one of the splices was where we found the leak that we hunted for after the smell of propane permeated our cabin. While we first thought we would just replace one part of the line, we ended up replacing the whole thing. We did have to splice it again, to get it through the deck, but it no longer leaks and we can cook again! Success!

The other major project we had planned was getting our outboard motor working again. Despite taking apart the carburetor completely, cleaning the spark plugs, and getting new gas, we did not have any success with this project. So we are leaving the dock with a no non-functioning outboard motor. We have oars, and the kids gained a new affinity for rowing, so we will be fine.

We had an open house today, where we invited anyone who wanted to say goodbye, or sea our boat, to come down and do so. We had a steady stream of people from about 10:30am – 5:00pm. It was wonderful to get to see everyone one last time, and to show off our home to those who had yet to see it.

This is not goodbye – but see-you-later to Maine and our of our friends and family who are here. We are off on an adventure – but we will be back.

Trouble with the headsail

September 9, 2019 | Boat Projects | No Comments

We have been having trouble with our headsail since we got the boat.

Sometimes it worked just fine, and other times it was REALLY hard to pull out or to roll back in. We had a yankee cut sail on the roller furling, so its a pretty small sail that shouldn’t take a lot of power to unfurl or to furl back up.

Yet we kept having problems with it.

When we got back from our week long family trip we knew it was time to investigate. We broke out the bosun’s chair and up the mast I went.

Once I reached the top I saw the problem right away. The halyard for the fore-sail was sheared almost all of the way through. The cover was completely cut, and the core of the rope wasn’t far from failing.

The problem….

The halyard had been wrapping around the fore-stay every time we tried to unfurl or roll in the sail. This chafing had eventually caused the rope to rip apart.

Views from the Top of the Mast

I helped the sail turn as it should, still at the top of the mast, so we could fully unfurl the sail in order to pull the sail down to the deck. Ben released the halyard and pulled the sail to the deck.

We had been wanting to try out the big genoa anyways, so we thought this was a good occasion to switch sails. First we had to fix or replace the halyard. Rather than going through the hassle and expense of replacing it I decided to try to create a new splice in the part of the line above the chafed part. There was just enough space left to do the splice we needed. After a lot of frustration with the fids (splicing tools) we have, and 3.5 hours, I finally got the splice done!

A Splicing Gallery

On Sunday, before heading out with some friends, we pulled up the big genoa. This sail is HUGE. Compared to our small Yankee sail, this sail is a monster.

We got it up and it looked like it was sitting right at the top. There is a metal piece where the halyard is attached to the top of the furler. The sail is attached to the bottom of this piece. The top is supposed to spin around the furler as the sail is pulled in or out to keep the halyard in one place, but allow the sail to spin around the furler. This metal piece catches on a black plastic cap to keep the halyard in place.

The problem when we had the Yankee up, is the black cap was set for the Genoa, not the Yankee, which is much smaller. So the metal piece was nowhere near the cap to keep the halyard from spinning with the sail.

Our first weekend out with the new Genoa went great, and the sail worked exactly as it should! We were psyched.

Now, as I write this, a week later, we are back to the drawing board. As we were out today we suddenly couldn’t pull the Genoa back in as we tried to tack.

One issue with how big the Genoa is, is that in order to tack around the staysail, we have to furl the Genoa in almost all the way as we tack. Except it would only furl in about 1/4 of the way before it stuck.

We aren’t sure what the problem is, but we ended up having to douse the Genoa to the deck since we couldn’t furl it in. So now we still have a problem, and a deck full of Genoa. The plan is to pull out the manual for the furler and see if we can figure out what is going on. Updates in a future post.

Then we plan to put the Yankee sail back up, after lowering the black cap to the appropriate height and hopefully we will have a fully functional headsail again.

First lets back up to when we still owned a house. .

We had a love hate relationship with many parts of our house, and we are glad to be done with it and all its parts. But particularly the refrigerator.

We had a lot of ups and downs with our fridge. It was too warm for many months, except for that one month where it decided to freeze everything, and sometimes it worked just fine. We used our fridge as an ‘ice-box’ many times, replacing frozen gallon jugs of water inside to keep the temperature reasonable. We eventually got a new fridge – and it was even FREE! Maine has this nifty implied warranty law – which basically means that something should work for a reasonable amount of time, and if it doesn’t, you get a new one free! Thanks Maine!

Then we bought Jelanea and the fridge worked fine the first night. Then on the trip up to Maine it was running a bit warm (43ish) all day. After a few days of it not going down we got some ice and put it in the freezer box and that brought the temp down and held it at a steady 39.

For awhile.

About a month later it started rising again. This time ice didn’t seem to help so we called in a professional to take a look. He hooked up all his gizmos and readers and told us that everything looked fine. He postulated that our batteries had gotten too low which causes the fridge to automatically shut off since it doesn’t have enough voltage.

The shore power had arrived the same morning he came to look, so it was working fine and by the time he left back down to a nice cold 39 degrees.

I’m still convinced service technicians have some secret remote control, because things just seem to start working once you’ve arranged for them to come out….

Now, about a month after that, and after spending a pretty penny provisioning for our upcoming week of living on the hook, the fridge was at 50 degrees after I filled it with new groceries.

At first I thought I maybe the temperature had risen while I filled it to the brim with the food I just bought. So I waited.

As a I waited it crept up to 51 degrees….then to 52 degrees. All the while it was running and closed.

Something else was wrong.

After looking at the coils I realized we had about a 1/2 inch of ice buildup on the entire ‘freezer’ component. Time for a defrost.

I emptied all the new (and old) groceries into our two coolers, packed them with the ice I could dig out of the freezer and opened the fridge all up.

Then I was ready to wait for all the ice to melt – and wondering how long that would take – when I remembered that for some unknown reason we had our small hair-dryer on board!

With the hair-dryer in hand I got all the ice off the coils in about 15 minutes. There was a LOT of ice…..

Then I set to drying and cleaning the fridge – because what better time to clean then when its already opened and warmed?

And a mere hour after starting the project – the fridge is closed up and cooling down once again. Success!

Project – hatch lens rebedding

July 18, 2019 | Boat Projects | No Comments

With the boy away at camp for 10 days, we had a weekend with only 1 child to look after and entertain, so we decided to tackle a project we have been discussing for awhile now.

Fixing our leaky boat.

We know all boats have leaks, although we do remember the previous owners telling us that their boat was unique in that it was LEAK FREE! Maybe it was last time they were on-board during a storm, but it no longer is.

Three of our hatches leak from at least one corner, there is a leak behind the fridge in the cup/Tupperware cabinet and when Ben was washing down the deck some water came in above the chart table(not a good place for water, with ALL of our electronics located in or around the chart table.)

We haven’t figured out the source of the two deck leaks yet. The one on the port side (behind the fridge) only seemed to happen when we ran the deck hose. The one on the starboard side only seemed to happen when we were washing the deck – so each have only leaked once so far.

The hatches, on the other hand, leak every time it rains. We have been able to stem the leaks by putting the hatch covers on when it rains, but we wanted to actually solve the leaks.

We aren’t sure if the hatches are leaking through the seal between the lens and the frame, or between the frame and the cabin top. Origionally we were going to rebed the whole hatch, take it off the cabin-top and re-do the sealant. Except we couldn’t get the first hatch we tried to take off, off. The screws holding it down spun but didn’t come out at all.

So we decided to go with plan B, and re-bed the lens’ to see if that fixed the leaks. The sealant around the lens’ all had craks on the corners that were leaking, so there is a good chance that this is indeed the problem.

We spent all day Saturday removing the lens’ from the forward two hatches that leak, which was quite a process. We removed the screws, and then set to digging out all the old sealant around the lens’. This took ALL DAY. We mostly used flat-head screw-drives to do the sealant removal. We also used a utility knife to get between the lens and the bottom of the frame. Once we did this we were able to ‘pop’ the lens’ out of their frames.

Starboard saloon hatch lens removed from the frame – next came scrapping all the old silicone off!

Then we had to remove ALL of the old sealant from the frames and the lens’. We got both of them clean and ready by Sunday afternoon.

After taping off both hatch frames and the lens, to prevent the sealant from getting everywhere, we were ready to re-bed the first hatch.

We filled it with sealant, popped the lens in and……couldn’t find the screw holes to screw it down.

We had failed to ‘dry-fit’ the lens to make sure we had it lined up right before putting the sealant in.

Ben went down below and popped the lens out so we could turn it, and we took this opportunity to put more sealant in the frame, as it didn’t look like we had enough the first time. Then we spun the lens to what we hoped was the correct orientation, 90 degrees from where we had had it before, and tried again.

Still

No

Screw

Holes.

We were both beyond frustrated that we had missed the crucial step of dry-fitting.

Now we were back to square one, and decided we had to take the whole thing apart, remove all the sealant that was starting to get tacky, and start over again with this hatch.

I took a break and went to pick up Pizza for dinner with Trixie while Ben worked at removing all the brand new sealant from the lens and the frame.

He was just finishing up as we arrived back to the boat with dinner, and we took a break to feed ourselves and Trixie.

Side Note – doing projects like this with a toddler around is kind of like a circus show. She would be playing find by herself, then she would want to ‘help’ and typically this meant wanting whatever tool you were using (be it a utility blade, screw-driver or sponge) and would not accept a suitable replacement (a different screw-driver or different sponge.)

She would then ‘help’ for about a minute, and then declare that she needed help, with whatever she was helping with.

Then, during a crucial moment, when both of us needed to be concentrating on lining up the lens, she would suddenly have black sealant all over her, and one of us would take her down-below to clean her up before she made more of a mess.

We did a great job of making a royal mess of the boat all on our own – luckily the sealant washed off the deck fairly easily. As I write this 2 days later though, I still have spots on my hands and legs – it doesn’t come off skin quite as easily.

Starboard hatch taped for the 2nd time, ready to re-bed. This time with an arrow indicating the front so we put it in the right way…..

The second hatch went much smoother, we dry fit it first, and got it done in about 10 minutes. Of course by the time we were done it was dark, and we decided to leave the other hatch for another day, as the forecast didn’t show any rain for a few days.

Ben piping the silicone into the forward hatch frame

We got the other one done a few days later and it went just as smoothly.

Starboard hatch done!

A successful project, with a bit of a rocky middle, but a good end product.

Update July 23rd: As I am finishing up this post as we are on day 2 of a lot of rain, and guess what – the hatches still leak. 🙁

So while we learned how to re-bed the lens of a hatch, we apparently didn’t fix the leaks we were trying to fix which means they are leaking somewhere else, probably between the hatch and the cabin-top.

We are able to stop the leaks by putting the hatch covers on the hatches, so we can keep the boat dry, but we’d ideally like to stop the leaks altogether.

Back to the drawing board…….

Electrical problems?

June 24, 2019 | Boat Projects | No Comments

Today we spent the day up to our elbows in Jelanea’s electrical systems.

We learned a lot.

We learned how much we don’t know about boat electrical systems.

We learned how to remove, test, and replace a wire we thought was fried.(it wasn’t)

We learned that Ben can fit into the small ‘hanging’ locker beside the chart table (where we keep all our electrical stuff, and where a lot of the wiring for our boat is.

We learned what a relay is (kinda).

We learned that we would be okay getting by on just DC current, if we couldn’t get our AC panel working again. (The only things we plugged into AC were the coffee maker – but we can boil water on the stove an use a french press, and my computer, which I’m ordering a 12v charger for, and Ben’s phone, which he can charge at work)

And – we learned that we didn’t actually have the problem we thought we did and really everything was fine. Or something like that. Most things are working again – but we aren’t really sure what happened or how we fixed it, or if anything was broken to begin with….

We woke up with 3 problems, and we are ending the night with a completely different problem.

We woke up to pretty low batteries (69% charged), a solar charger with a frowny face (meaning it wasn’t charging our batteries) and an inverter that wouldn’t turn on (to make the ever important coffee.)

The batteries wouldn’t be a problem so much, if our marina was providing electricity – but as they are still building the marina, electricity is not yet available. So we are still depending on our batteries, and our solar panels ability to recharge them every day. If its not a sunny day we have been running the generator to recharge the batteries, trying to keep them in the 90% charged zone.

We both called out of work for the day, and got digging into our electrical system, that we knew nothing about.

At first we thought a wire might have fried when we tried to use the electric griddle on Sunday morning to make pancakes. The griddle turned on, drew a TON of amps, and then promptly shut off – after the pancakes had already been poured on (of course.)

The pancakes were saved by transferring them to the stove-top griddle. We then went for a 7 hour sail and had no use for the AC electrical panel during this time, and just assumed our solar panels were recharging the batteries on the beautiful sunny day. It wasn’t until Monday morning that we realized the solar panels were not charging the batteries, and probably hadn’t been all day Sunday, and it seemed something was wrong with the inverter as well.

We called a few electricians, when we felt we were in over our heads, but no one could make it out to us until Wednesday – we knew our batteries wouldn’t last that long, so we kept digging.

We removed the wire we thought might have been blown out, used YouTube to figure out how to test it, and learned it was actually just fine. So we replaced said wire (which we should have realized wasn’t the problem because it wasn’t attached to the inverter in any way shape or form.) While in the process of removing/re-installing this wire, we found a circuit breaker. It wasn’t tripped, but we reset it anyway. This didn’t seem to make any difference (but now we know there is a circuit breaker!)

Then we figured there was something wrong with the inverter unit itself, we pulled out our huge packet of instruction manuals and read up on anything electrical we could fine. The inverter, the solar charger, the battery monitor, etc. We found a on/off button on the inverter and tried the old ‘turn it off, turn it on’ trick, crossed our fingers and hoped. We were hopeful for a minute, because turning on the inverter now showed it producing 12 volts instead of 0, progress!

But when it didn’t go higher than 12 we were stumped.

So we moved onto the solar charger – if we could get the batteries to recharge from the solar we’d be in decent shape. We didn’t NEED to use AC current, we could get by running off DC if we could only recharge our batteries.

Checking on the solar charger again, and happy face! It was suddenly working again! Perhaps reseting the circuit breaker did this – we will never really know, but we were glad the solar panels were once again recharging our batteries. Two problems down (low batteries and no solar power.)

The inverter was still a problem, and calling the manufacturer resulted in a suggestion for a hard reset. Meaning disconnecting all the batteries at the battery terminals, waiting somewhere between 10 minutes and 48 hours, and then reconnecting to erase any memory the inverter had.

This sounded like a big project, way to much for how late it already was in the day – so we talked about shutting off the batteries for the night to see if that worked. Before we tried that I decided to call the previous owner to see if he had any insight into what might be wrong.

He did, and I’m shaking my head now at our naivete.

So in the engine compartment there is a light plugged into a AC outlet. This light is always on when the inverter is on, and lets you know that the inverter is working. Except the light wasn’t on, after talking to the owner I went to check and it wasn’t on. I turned on the inverter, and then tried the light, and nothing happened. Disappointed that it couldn’t be ‘that’ easy, I decided to try one more thing. I turned on the hot water heater, which pulls off the AC panel, and finally the volt meter jumped to 110 where it should be.

Our issue all along? We had the inverter on, but not the cabin outlets – so the let didn’t have power running to it at all – so it couldn’t pull the current and ‘wake-up’ the inverter.

Turns out our inverter has a ‘sleep’ mode, where it will drop down to a super low voltage if there is nothing asking it for power. The light in the engine room’s purpose was to create that constant ‘asking’ for power to display the correct voltage on the meter. But in order for it to ‘ask’ the cabin outlets also have to be on.

So was it really fine all day and it was just user error? Or was something wrong and in our digging around and futzing with things we somehow fixed it without knowing? We will never know the answer.

Unfortunately, our digging around into the electrical systems seems to have overloaded the battery monitor which suddenly stopped working. After the previous owner helped me find the fuse, I jiggled it a bit and the monitor is working again. The problem now is that the monitor assumes your batteries are at 100% when it turns on. When I jiggled the fuse and got it working again it showed our batteries at 100%. Yay! Wait – that doesn’t sound right.

So now we are in the situation of not knowing what level our batteries are at, so until we get electricity on the dock and can plug in for 24 hours and know that our batteries are full – we just have to hope we aren’t ruining them by running them too low.

And so ends a long day of digging through electrical stuff for really no reason at all, and creating a problem that didn’t need to be.

Ah – boat life.